Following how much I enjoyed Ray Tracing in One Weekend, I continued this book series by Peter Shirley with reading and implementing Ray Tracing: The Next Week.
In this extension of the Ray Tracing in One Weekend ray tracer, lots of really cool features were added, including solid textures, image texture mapping and lights. My aim with this project is to convert the features added to also work with the CUDA version I have been developing.
As of writing, all the features up until and including image texture mapping have been added!
The final image produced in this project can be seen below!
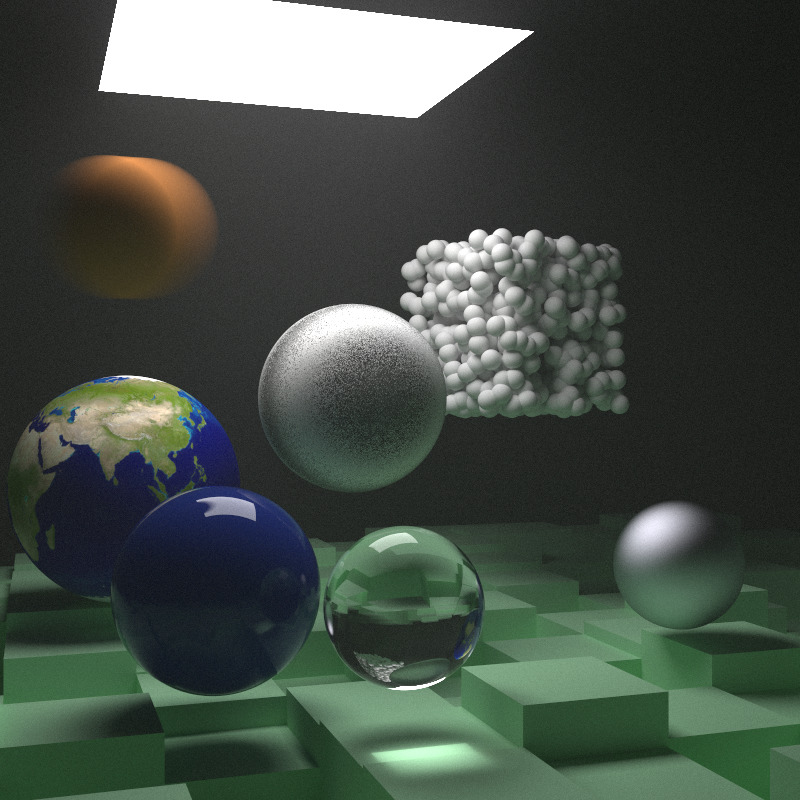
Ray Tracing The Next Week
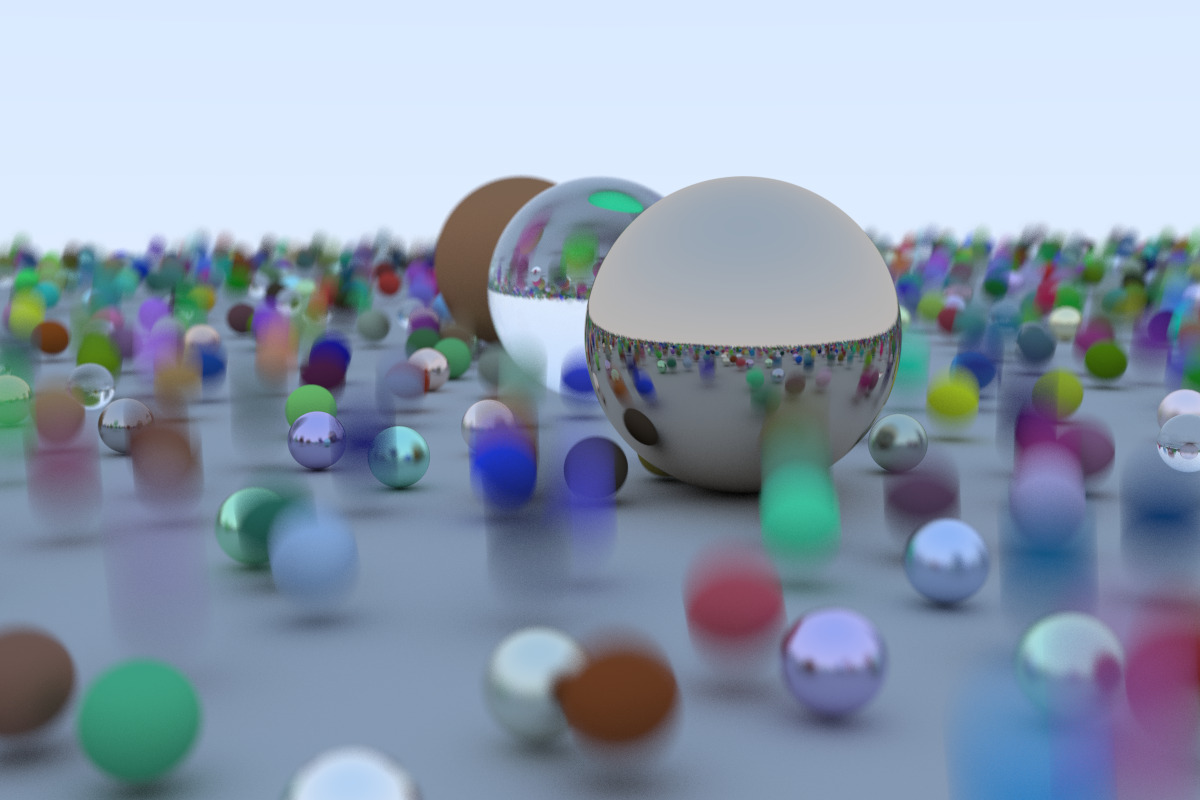
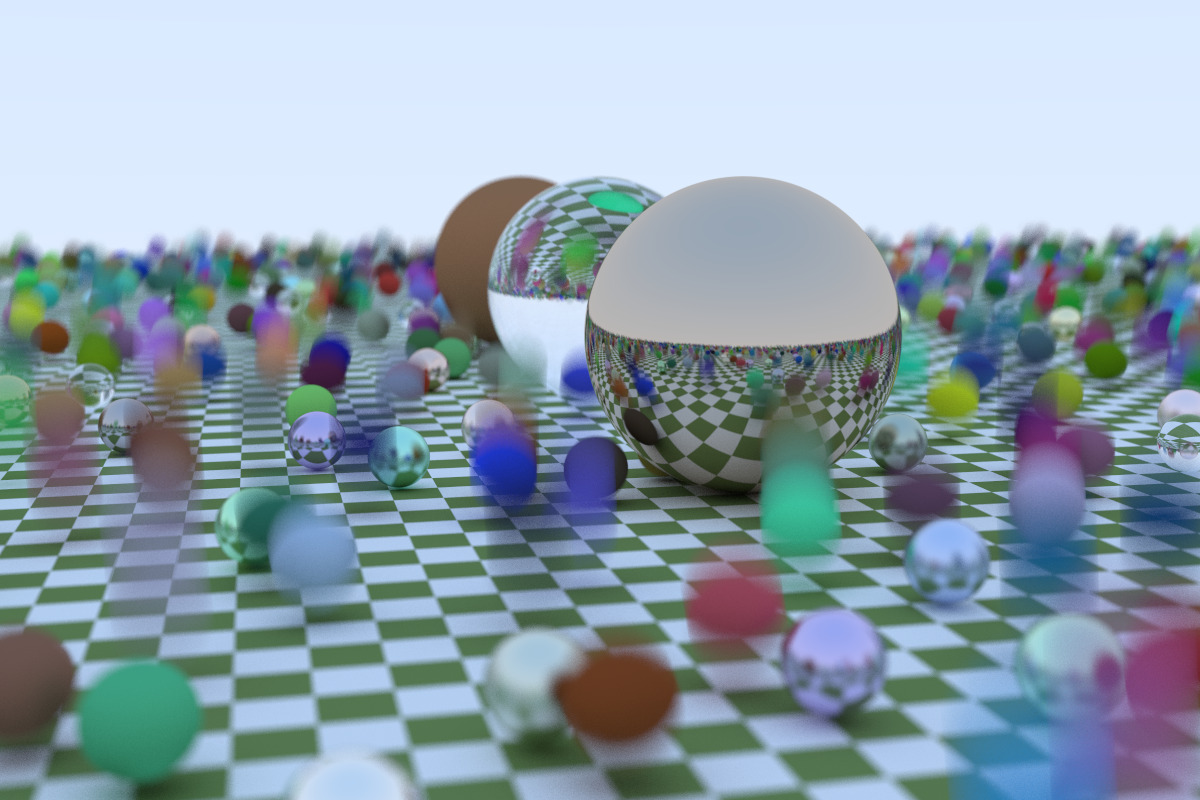
The book starts by implementing motion blur and solid textures which created some really interesting images. Motion blur works by essentially generating rays randomly between two given times which simulates how a real camera shutter works. During this time, the bouncing spheres are moving linearly from a centre at time1 to a second centre at time2. This can be seen in the images below.
The image on the right shows the motion blur alongside showcasing a checker texture. Whilst implementing the solid textures, I was introduced to texture coordinates for spheres. Spherical coordinates is an area I plan on reading into more as it was really interesting but isn’t something I have specifically covered before.
Both of the images below were rendered using the CUDA version of this ray tracer.
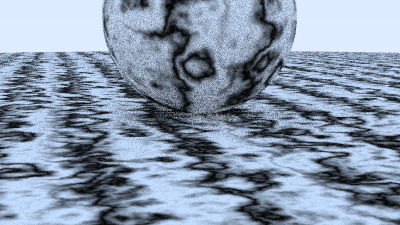
The next set of features added to the ray tracer were perlin noise and image texture mapping. It was really interesting to see how building upon perlin noise allowed us to make natural appearing textures such as the marble texture below.
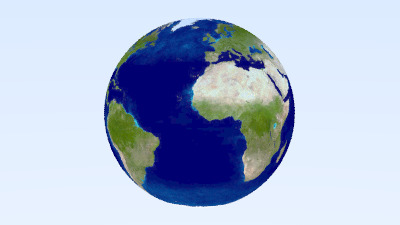
I loved adding the image texture mapping feature as this opened up lots of fun ideas. Once this was implemented, I got a lot of enjoyment mapping faces onto hundreds of spheres, however I will save the embarrassment of sharing those and will just show the globe below :) This was also the last feature I have gotten round to adding in my GPU CUDA ray tracer. As writing code for CUDA is very new to me (as in this is the first and only project where I have used CUDA) so this proved to be quite challenging. Adding this feature really made me understand how and when to move data between CPU and GPU. Image mapping forced me to slightly rework how it is done compared to the original version so that I am able to load in the image data on the host and allocate the data to device memory using cudaMallocManaged and cudaMemcpy.
The bottom images demonstrate rectangles and allowing them to emit light into the scene. This allows me to create some really cool moody images.
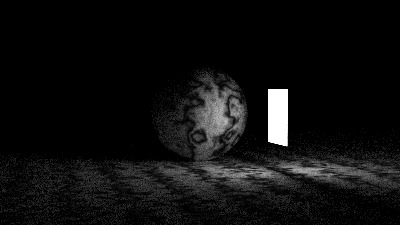
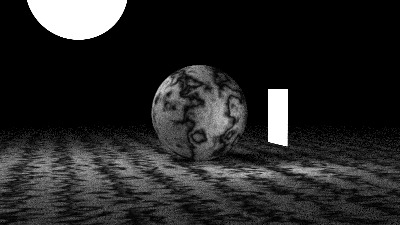
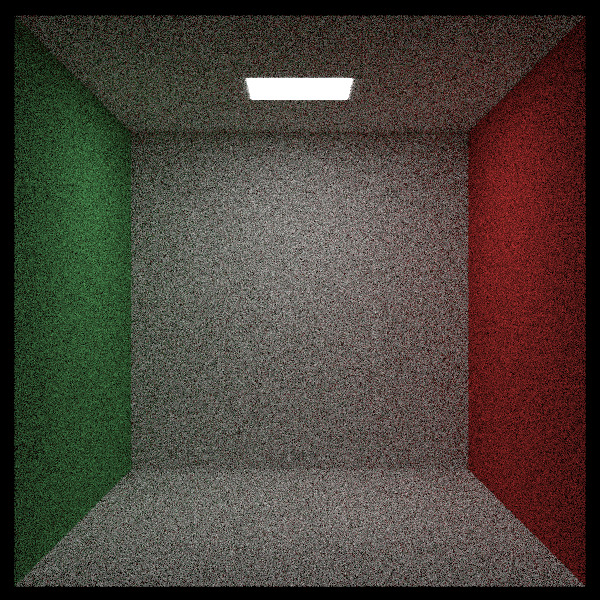
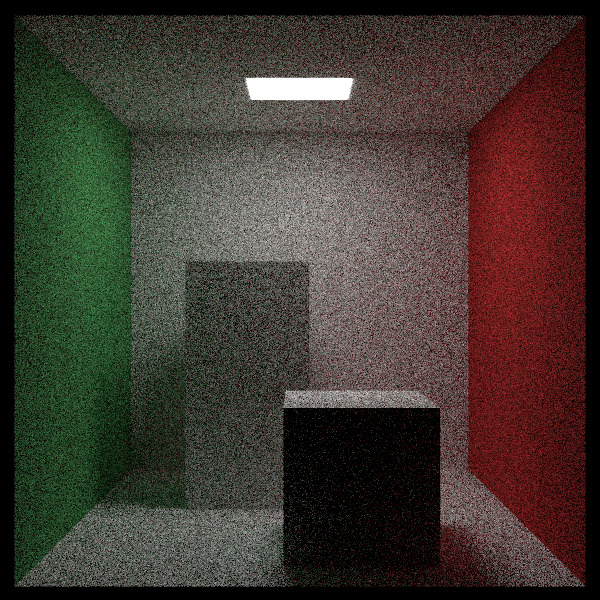
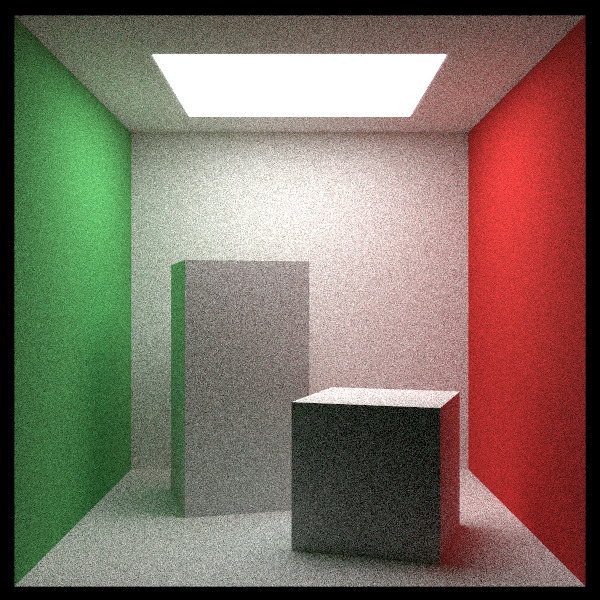
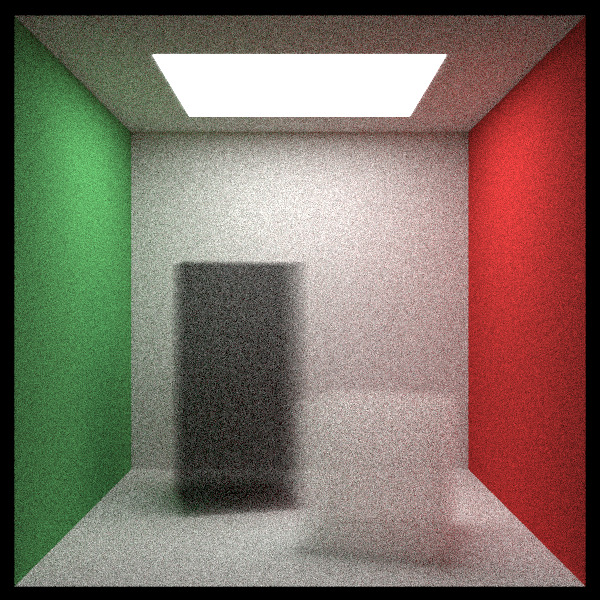
My first Cornell box!!! I was very excited to have finally rendered my own Cornell box. In this chapter, we also implemented instance translation and rotation which allowed me to create an iconic Cornell box with rotated cuboids.
Lastly, we implemented volumes which can be seen in the last image below with smoke and fog boxes. The implementation also allows for subsurface materials. In the final image the blue subsurface reflection sphere is a volume inside of a dielectric.
Here is the final book image again. I really love the composition of this book cover. It demonstrates all of the new features from this book in a really beautiful way.

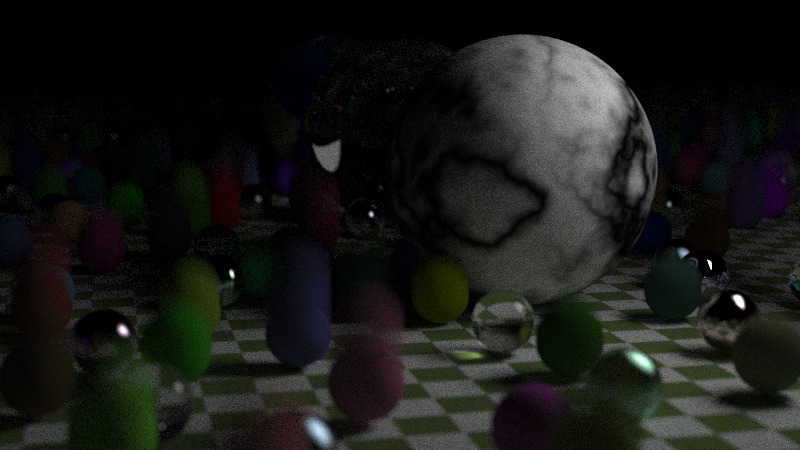
The image below is a revamped version of the final render from Ray Tracing in One Weekend using the new features added!
I plan on revisiting my CUDA version of this ray tracer in the future and also reading into OptiX.
A special thank you to my lovely boyfriend, Federico, for putting this render on his VM after my PC froze during a few attempts :)