Intro to Ray Tracing
Welcome to the start of my journey into computer graphics, starting with making my first ray tracer! In this blog post, I share some of my favourite images created on the way. Later on, I discuss accelerating my ray tracer using CUDA.
Following the discontinuation of the computer graphics module on my computer science course at King’s, I decided to explore the world of computer graphics outside of my formal studies, starting with rendering. With the help of Peter Shirley’s Ray Tracing in One Weekend, I created my first ray tracer from scratch.
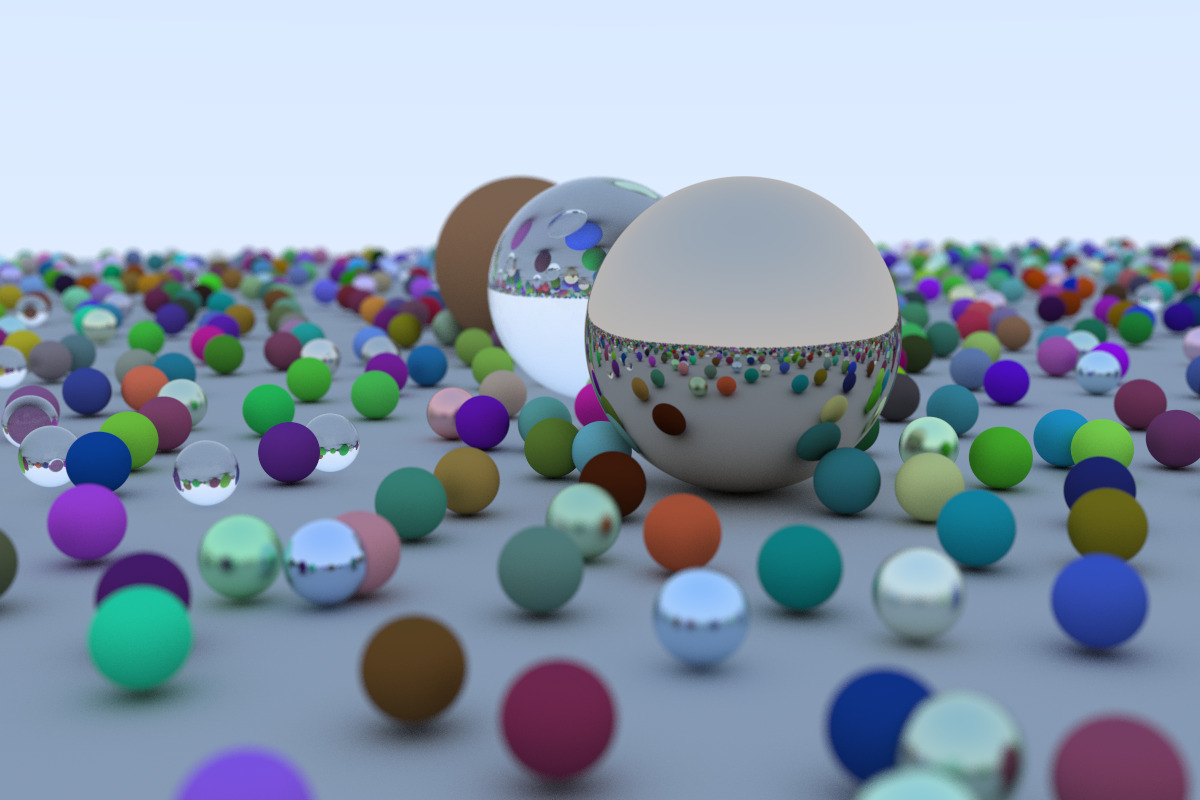
The final image produced from this project using CUDA can be seen below!
Ray Tracing in One Weekend
Ray Tracing in One Weekend helped me dust off my C++ skills and encouraged me to learn more about linear algebra. I particularly found it interesting to see how different materials are modelled and how they look and interact with one another.
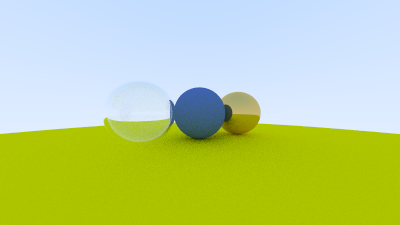
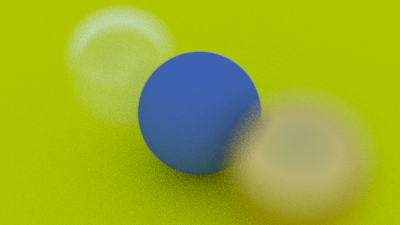
Below are a few of the progress images created on the way. The images show the progress of creating a sphere with a diffuse material to using a variety of materials with a positionable camera and lastly, a defocus blur.
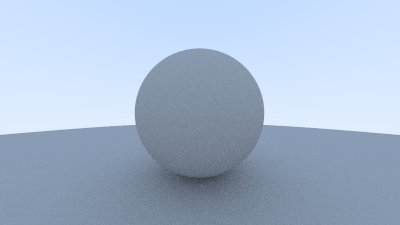
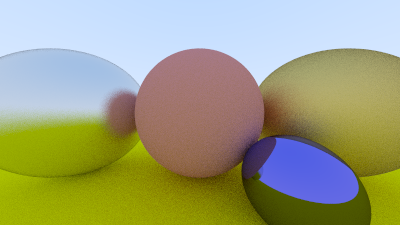
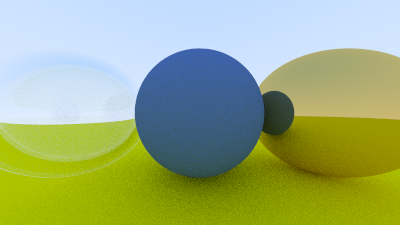

The final image showcasing all of these features can be seen below. This image consists of 484 smaller spheres with 3 larger spheres showcasing each material, all on top of a larger ground sphere.
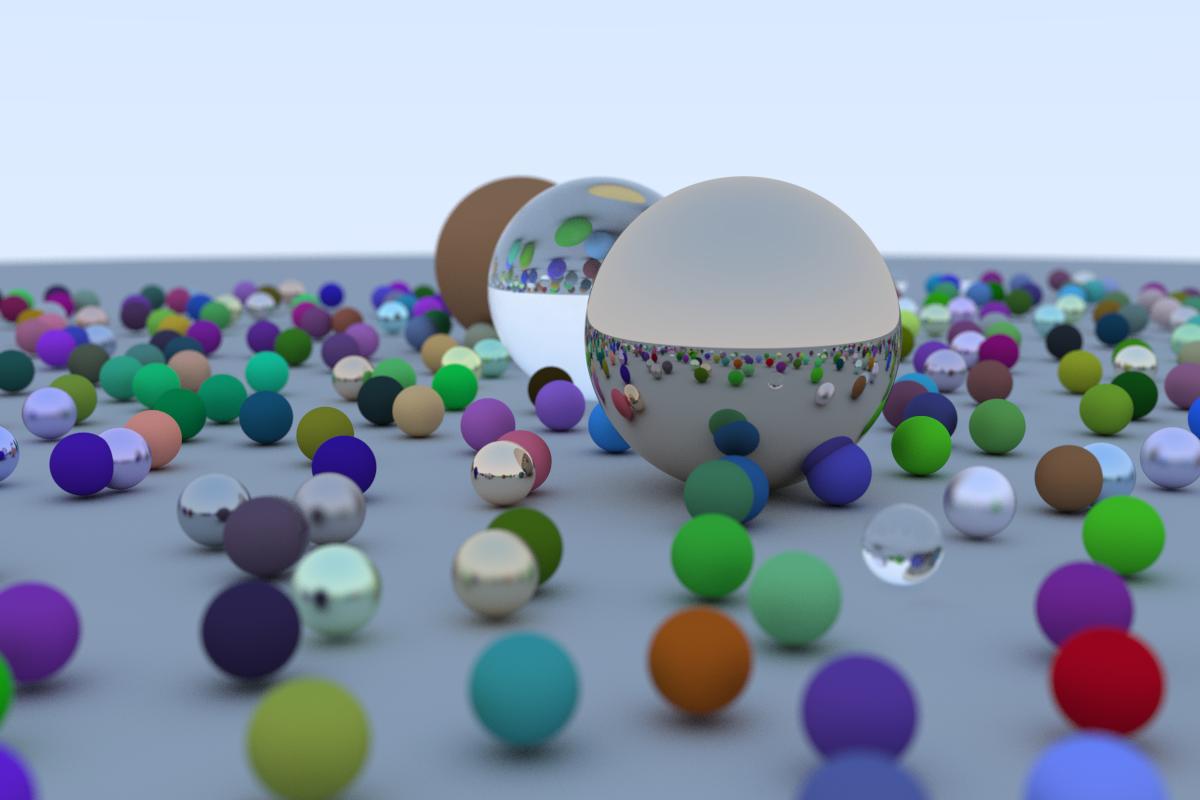 A little tweak that I made to the final image was ensuring that the spheres don’t collide with one another as it slightly frustrated me that the spheres were merging in places. This was rectified by carrying out a simple check to ensure the distance between the centre of two spheres is greater than the sum of the spheres’ radii.
Accelerated Ray Tracing in CUDA
After completing all the features in Ray Tracing in One Weekend, I was extremely pleased with the result however, I wanted to explore speeding up the computation time. The above image took around 4 hours to complete - I’m not entirely sure on the exact time as I left the image to render whilst I went out.
I started to read into how I could parallelise my code which is where I began playing around with the idea of splitting the image into even-sized tiles and rendering as many tiles as I could in parallel on my CPU. However, I started wondering how much faster it would be to run the ray tracer on my GPU since I built my first desktop PC last year with a GeForce RTX 2070. I had never written anything using CUDA before so this was quite a new but exciting concept to me - I could finally justify the 2070! I stumbled across Roger Allen’s Nvidia Developer blog post which was perfect for what I wanted to achieve.
Whilst reading and implementing the Nvidia blog post, I learnt a lot about what I have to consider when writing code for my GPU such as using a unified memory frame buffer that my GPU can write to which is then read by my CPU. I also learnt how to write C++ code for my CPU and GPU and how to use per-thread random number generation with cuRAND.
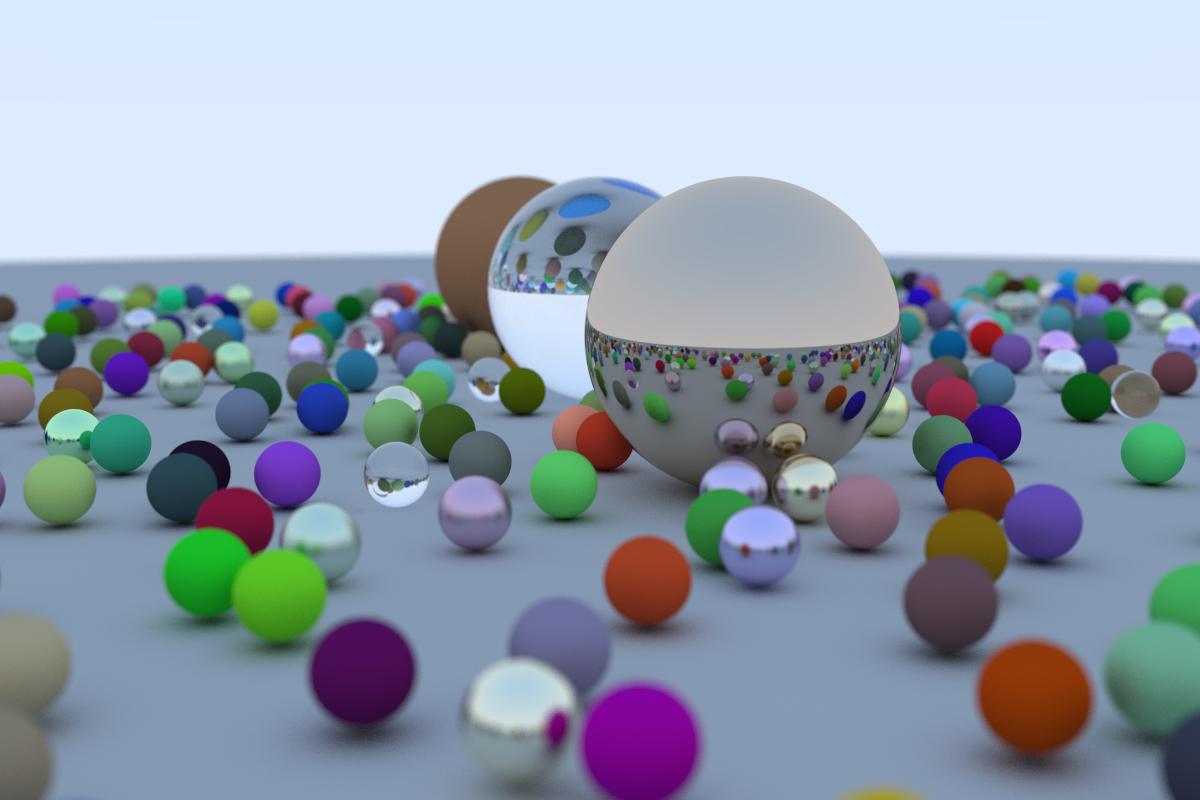
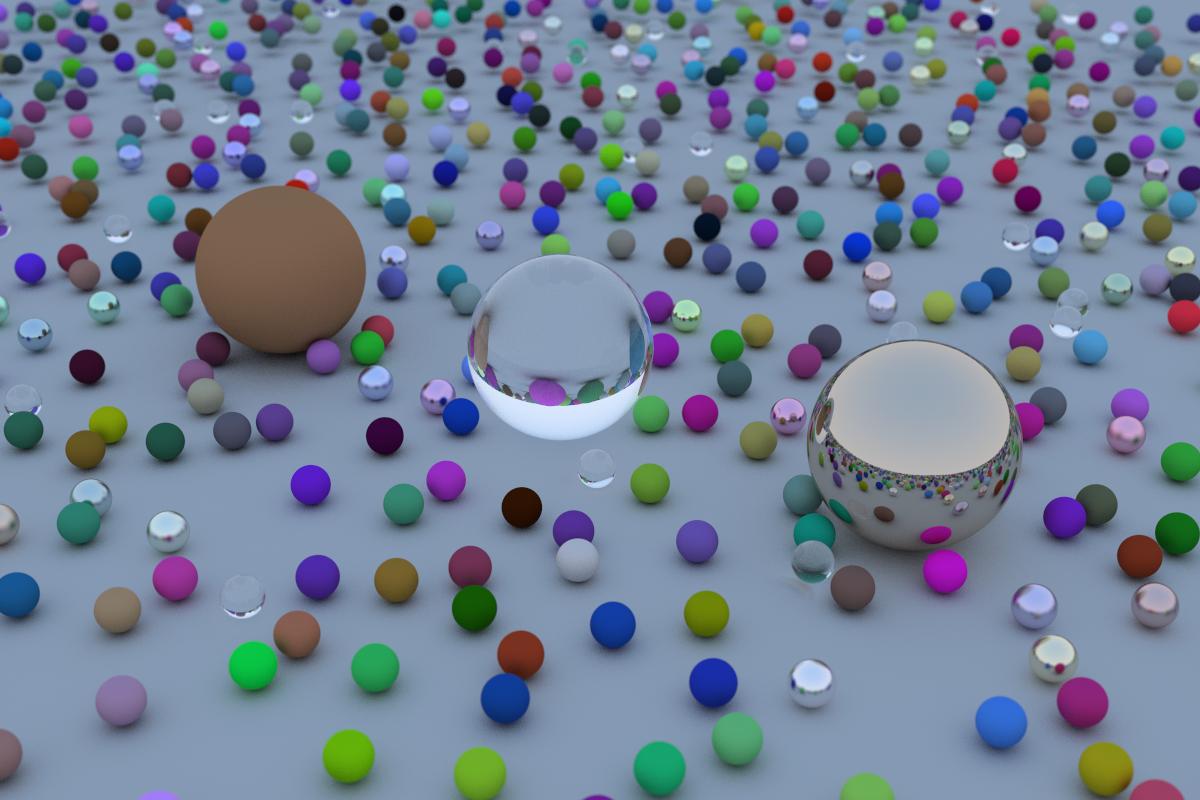
As shown in the image below, I utilised the 140x speed increase by adding lots of spheres to the world. I believe this really highlights the effectiveness in the reflective materials and emphasises the defocus blur in the horizon. The following images took between 500-600 seconds each to render.

And here is an alternative angle that I really love.
I thoroughly enjoyed working on this ray tracer and is something I plan on extending in the future. I plan on continuing with Peter Shirley’s book series as the next step in my computer graphics journey!