Blender Doughnut & Coffee
Having some experience using Maya, I decided to learn Blender by starting with Andrew Price’s iconic doughnut tutorial!
I really want to have a good understanding of 3D modelling as it’s a fundamental part of CG. Regardless of the area in CG I pursue, I believe it will be really beneficial. I’ve always had a passion for art and learning new mediums, so this is super fun for me too!
As I mentioned, I have used Maya in the past for modelling however, I wanted to learn Blender as it should be a good (and free) alternative to using ZBrush when it comes to sculpting. To get started with Blender, I have been learning from Andrew Price’s doughnut tutorial which I have read online is highly recommended. I love how this tutorial series goes above and beyond just the doughnut.
In this post I’m going to share some of my Blender progress as I am really happy with the results so far!
The Iconic Doughnut
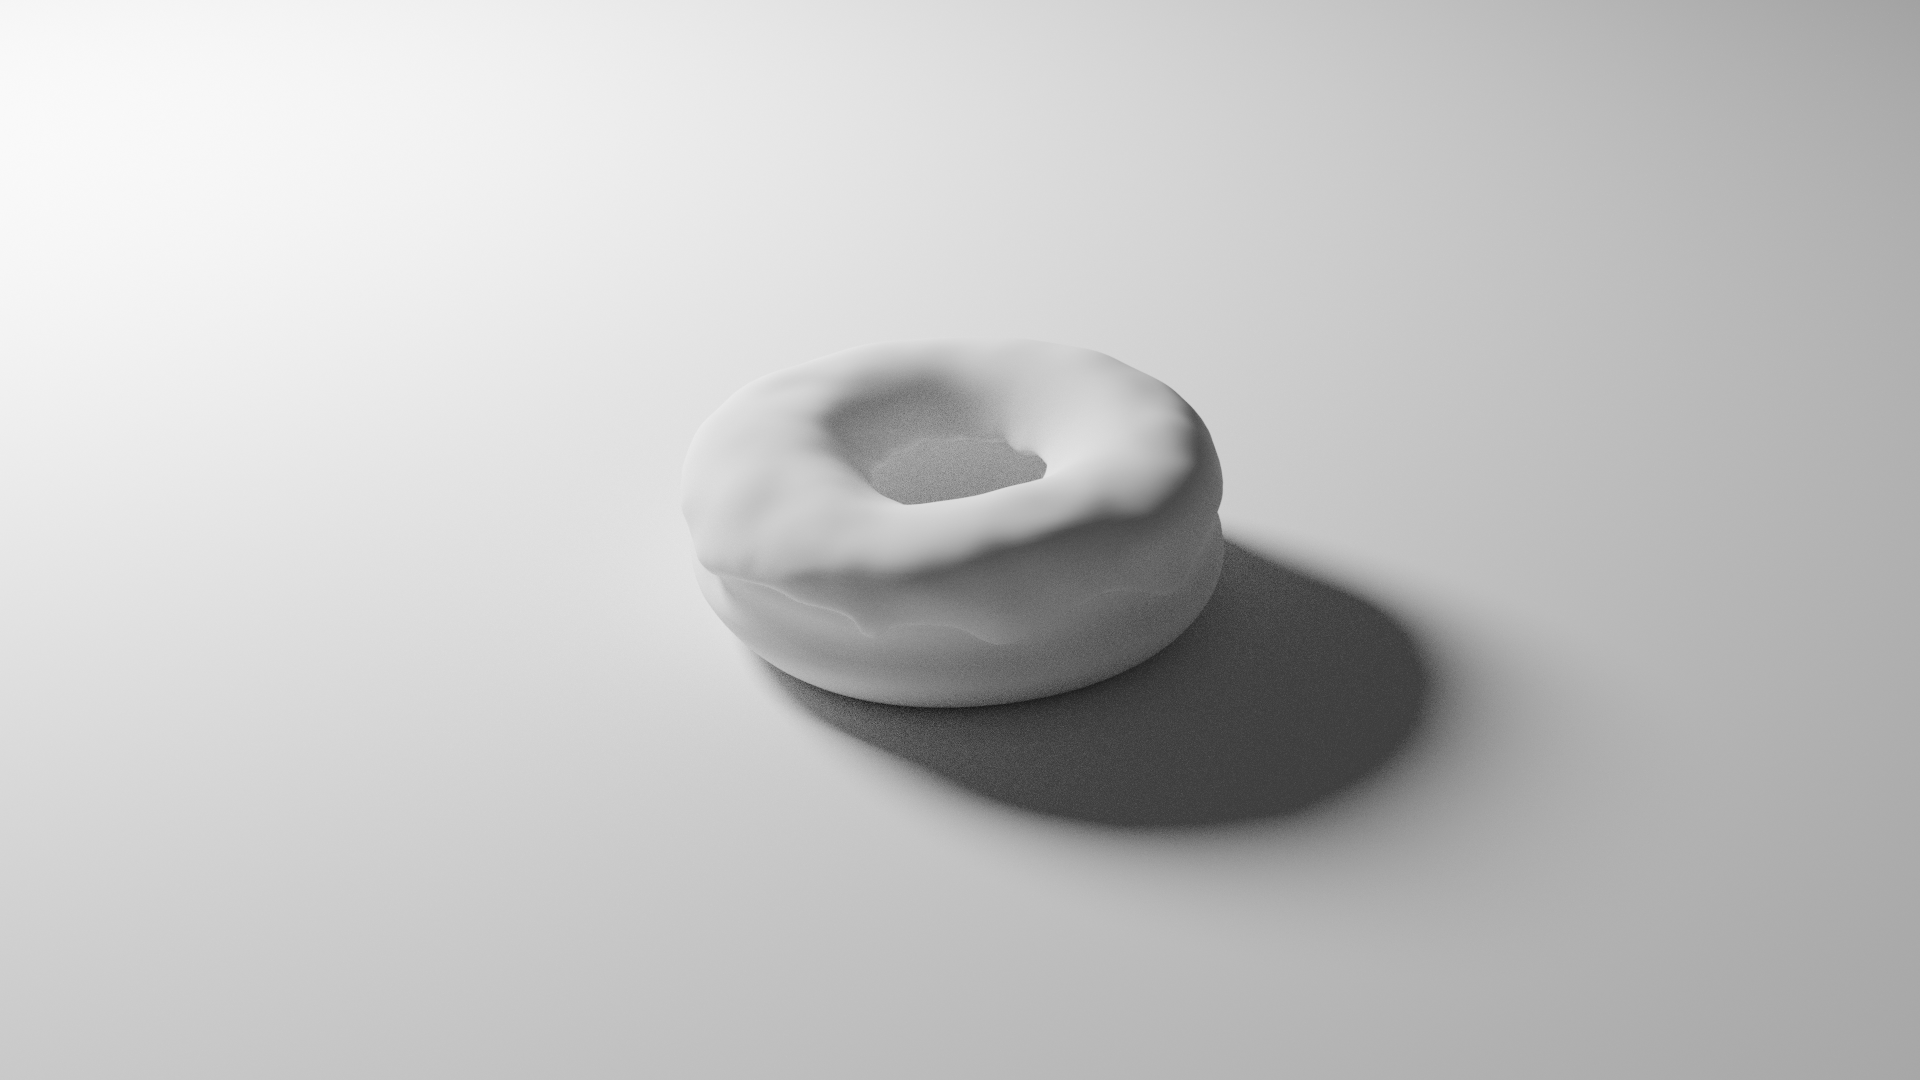
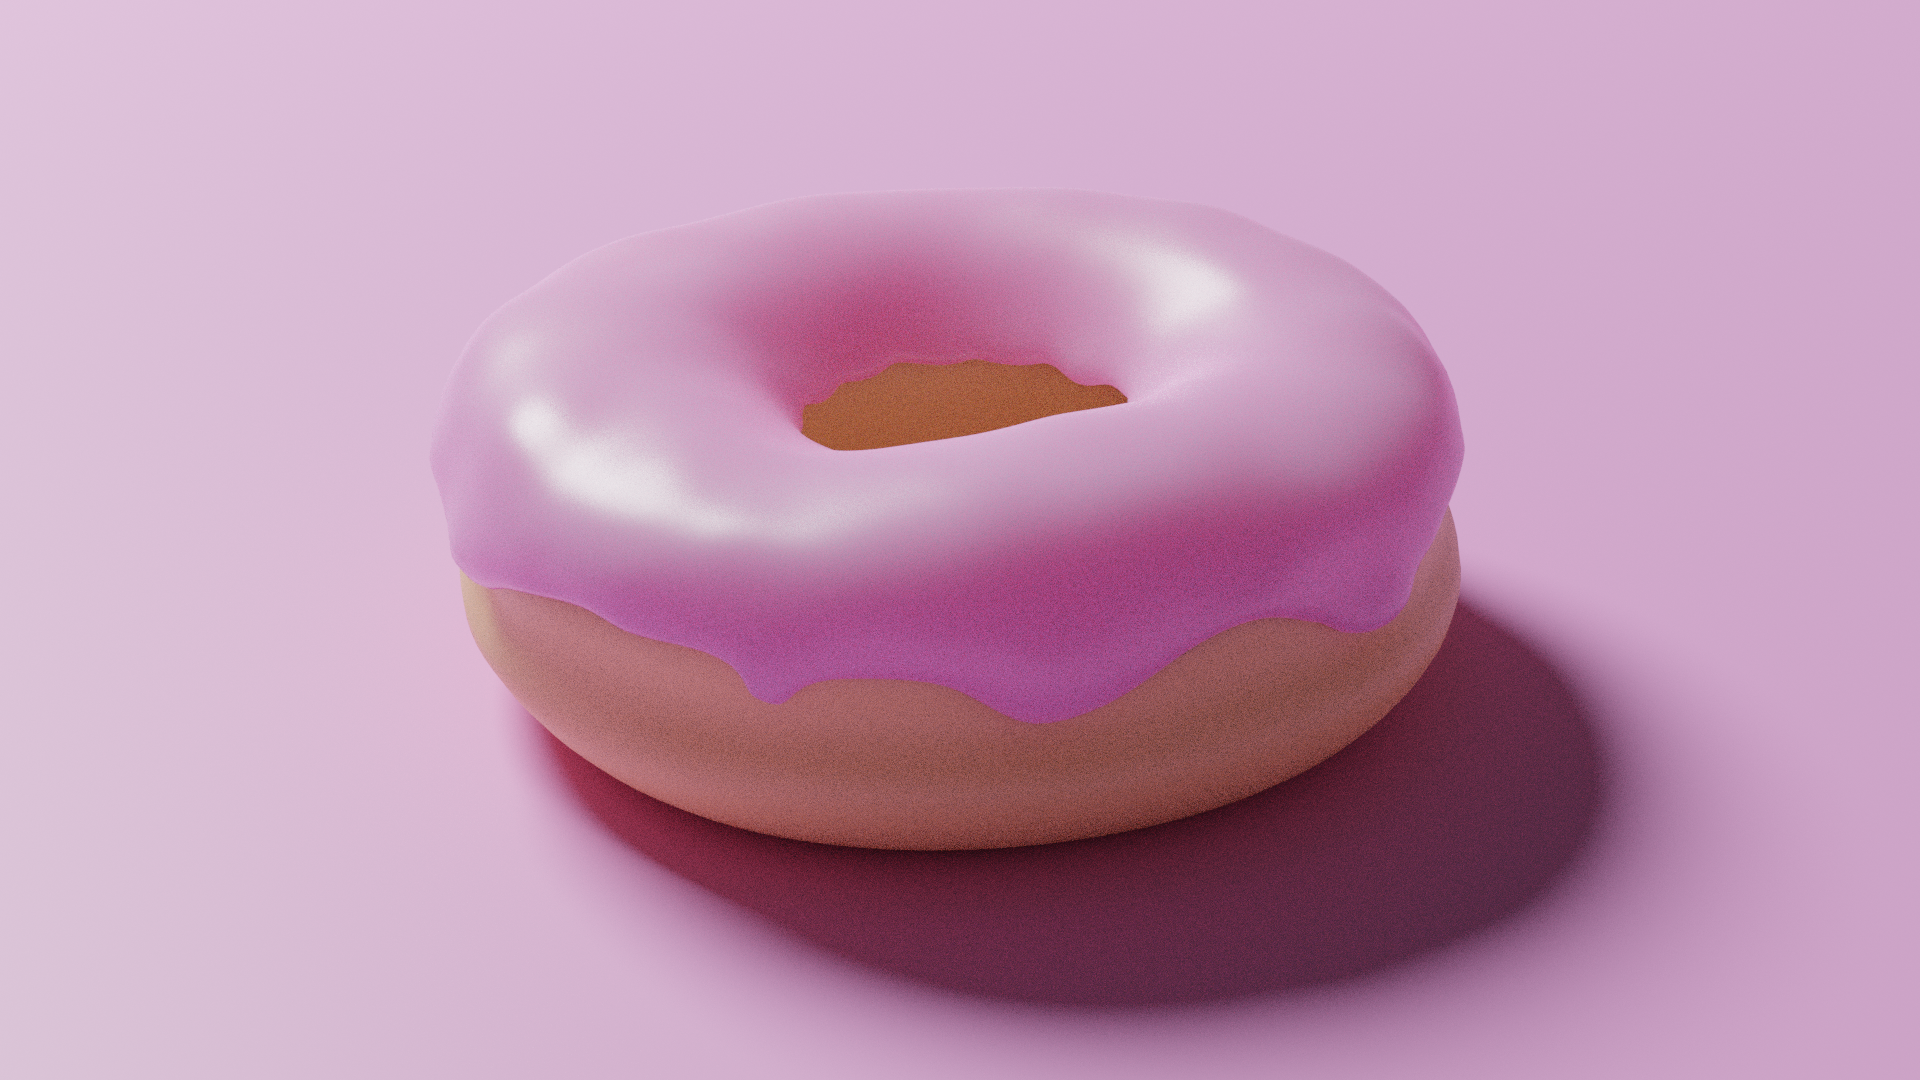
We started by modelling the doughnut which we then sculpted in more shape and imperfections to add realism. Next we added a basic colour material to the doughnut and worked on the icing. To achieve the glossy icing look, we reduced the roughness and increased the subsurface scattering to add a more realistic and almost fleshy food look. Below are some of my first renders in Blender.
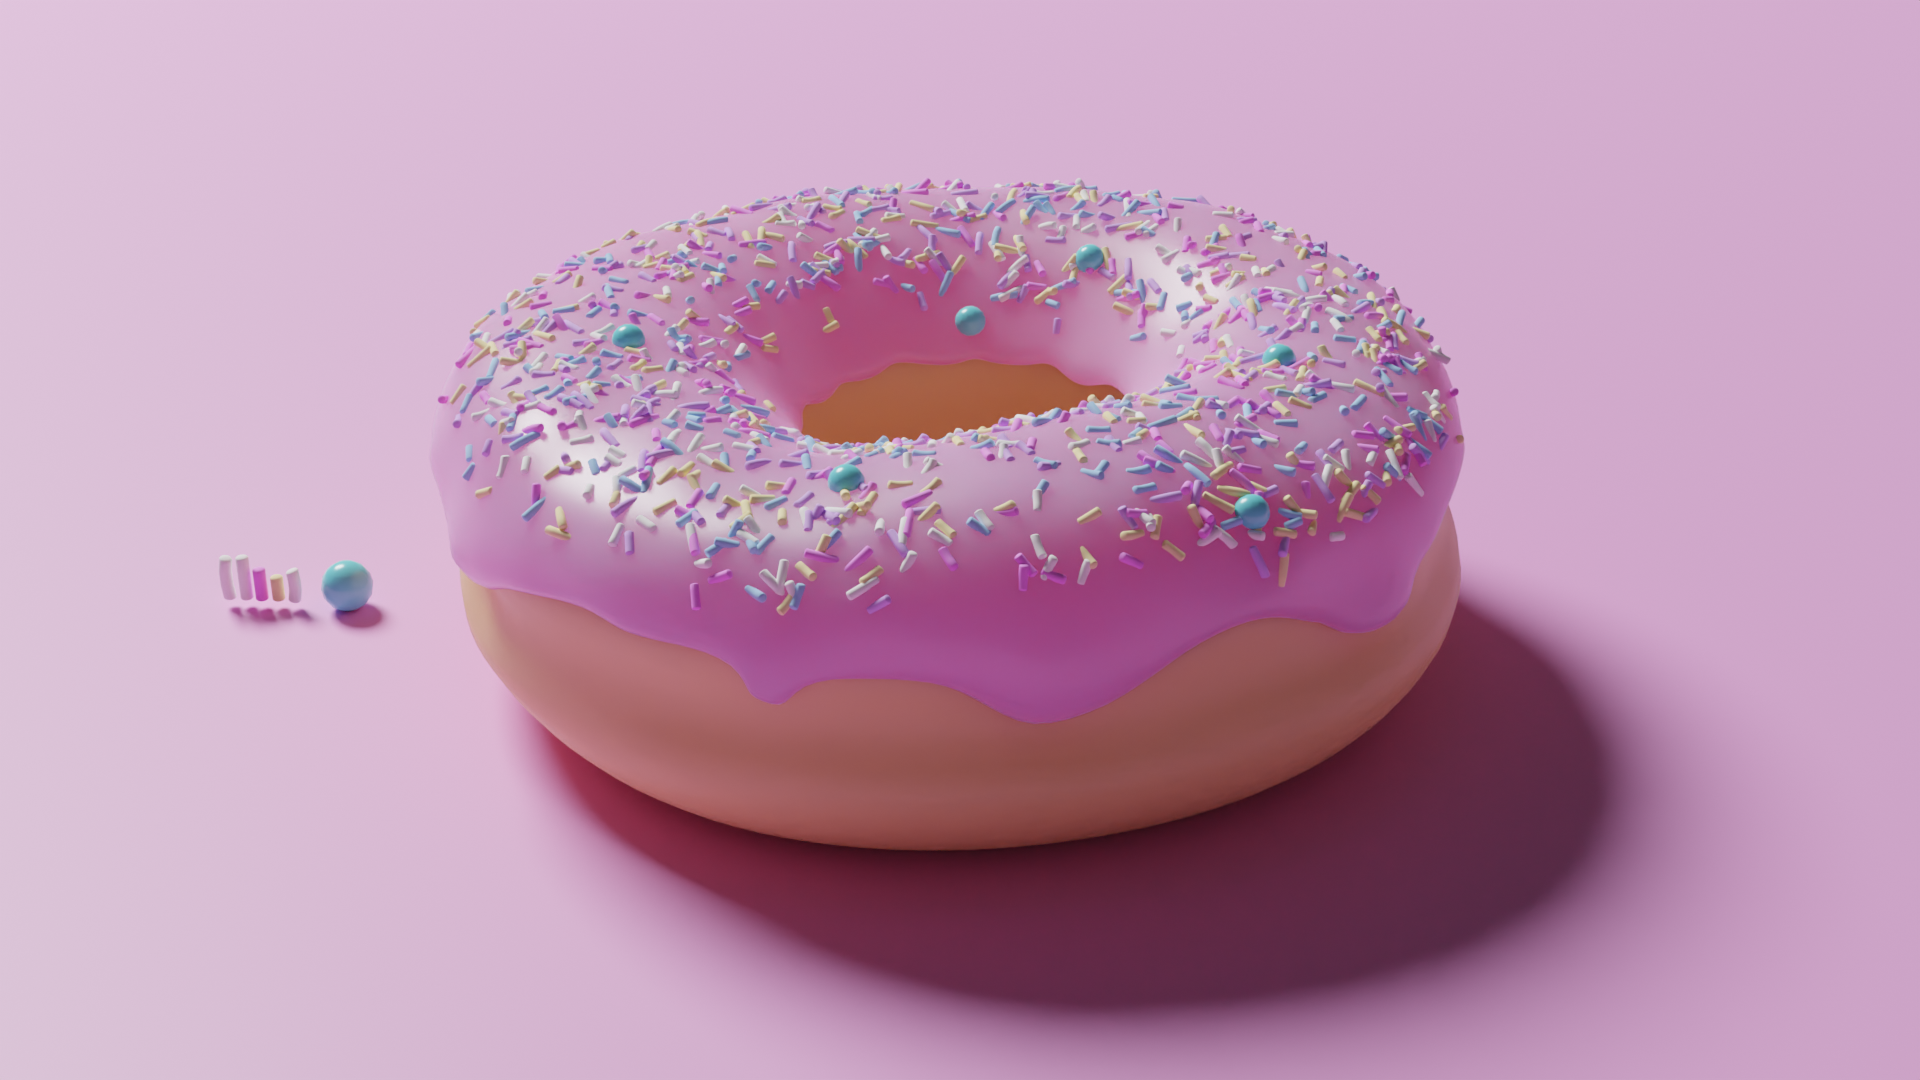
To add the sprinkles, we added a hair particle setting where we replaced the paths/strands with sprinkle models that are randomly coloured from our pastel colour palette. We then used weight paint to decide where the sprinkles should ‘fall’ onto the doughnut.
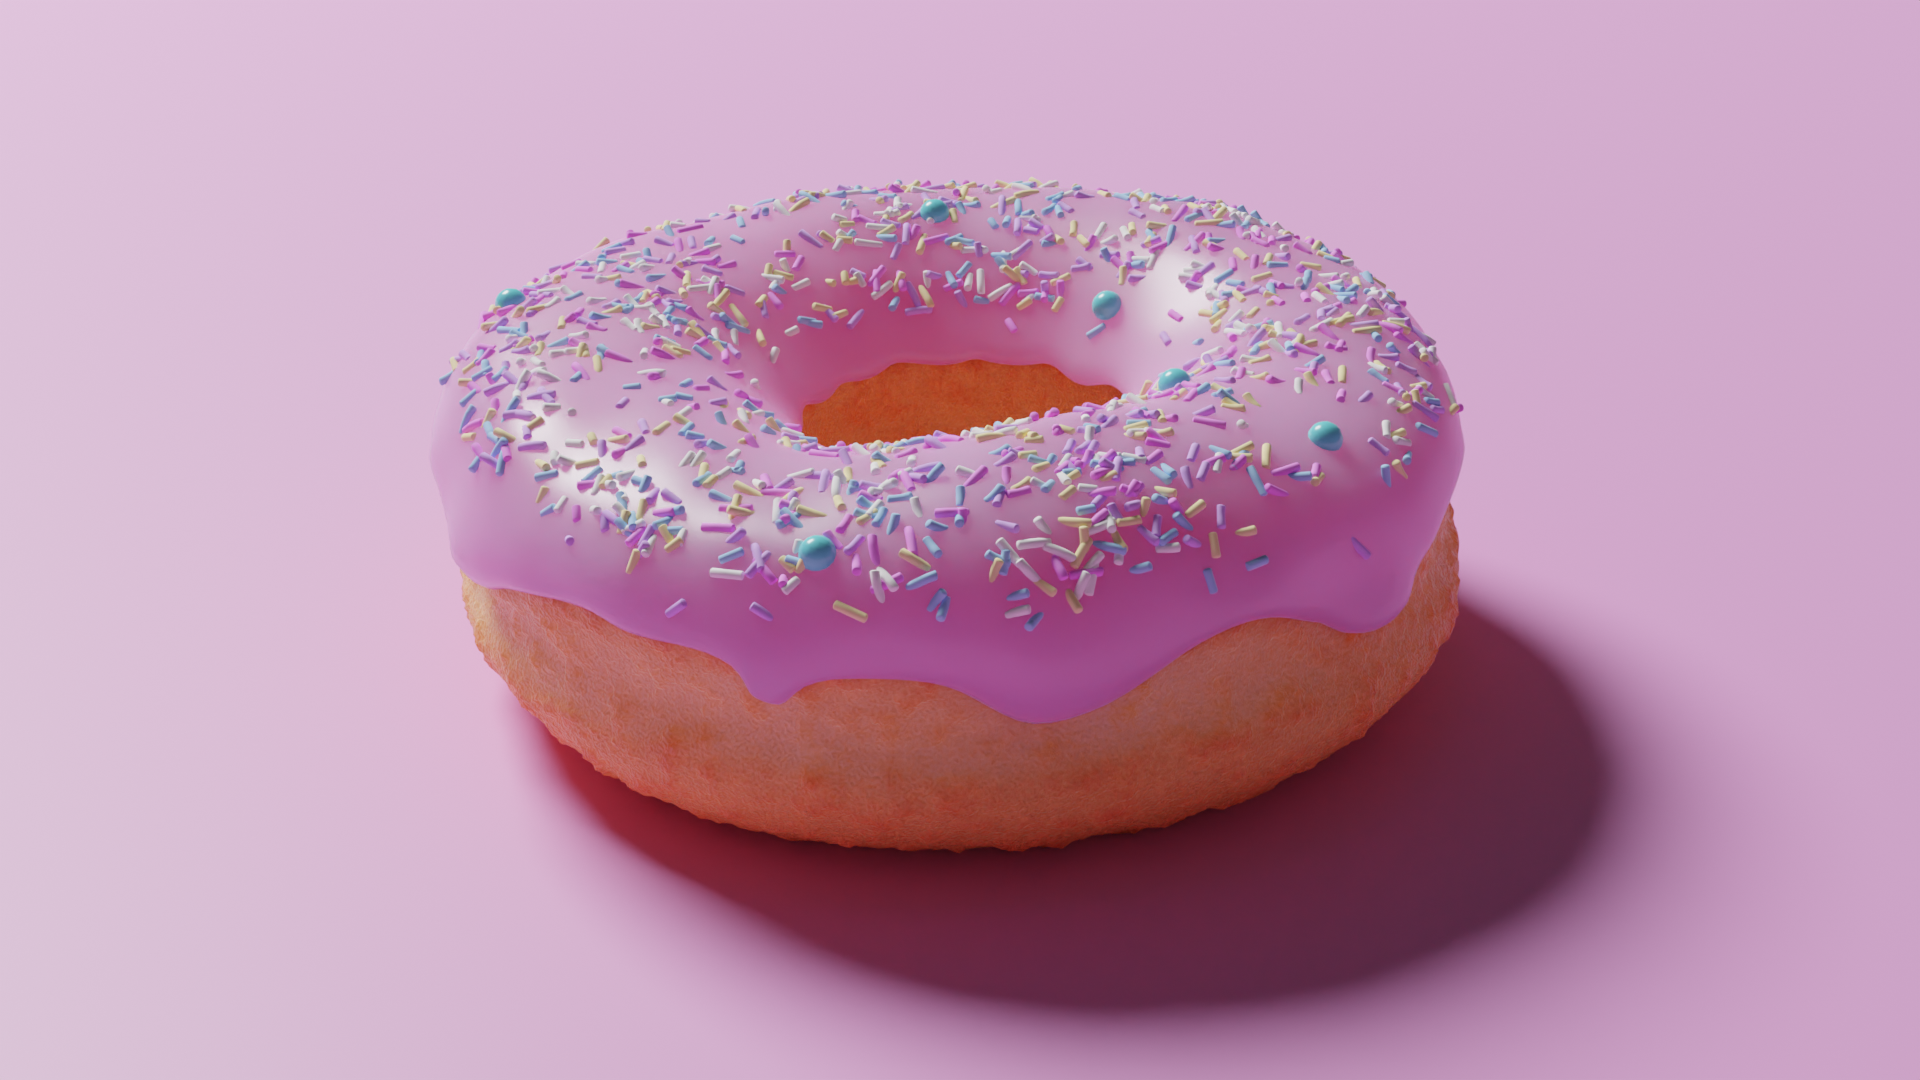
Now the icing is complete so we moved on to adding colour and texture to the doughnut. We texture painted the doughnut to look more ‘cooked’. Depite the colour looking better, the doughnut still looked quite stylised so we added procedural texture to add small bumps and larger bumps that looked like they had bubbled from the hot oil.
Here is the final doughnut!
The Glass Coffee Cup
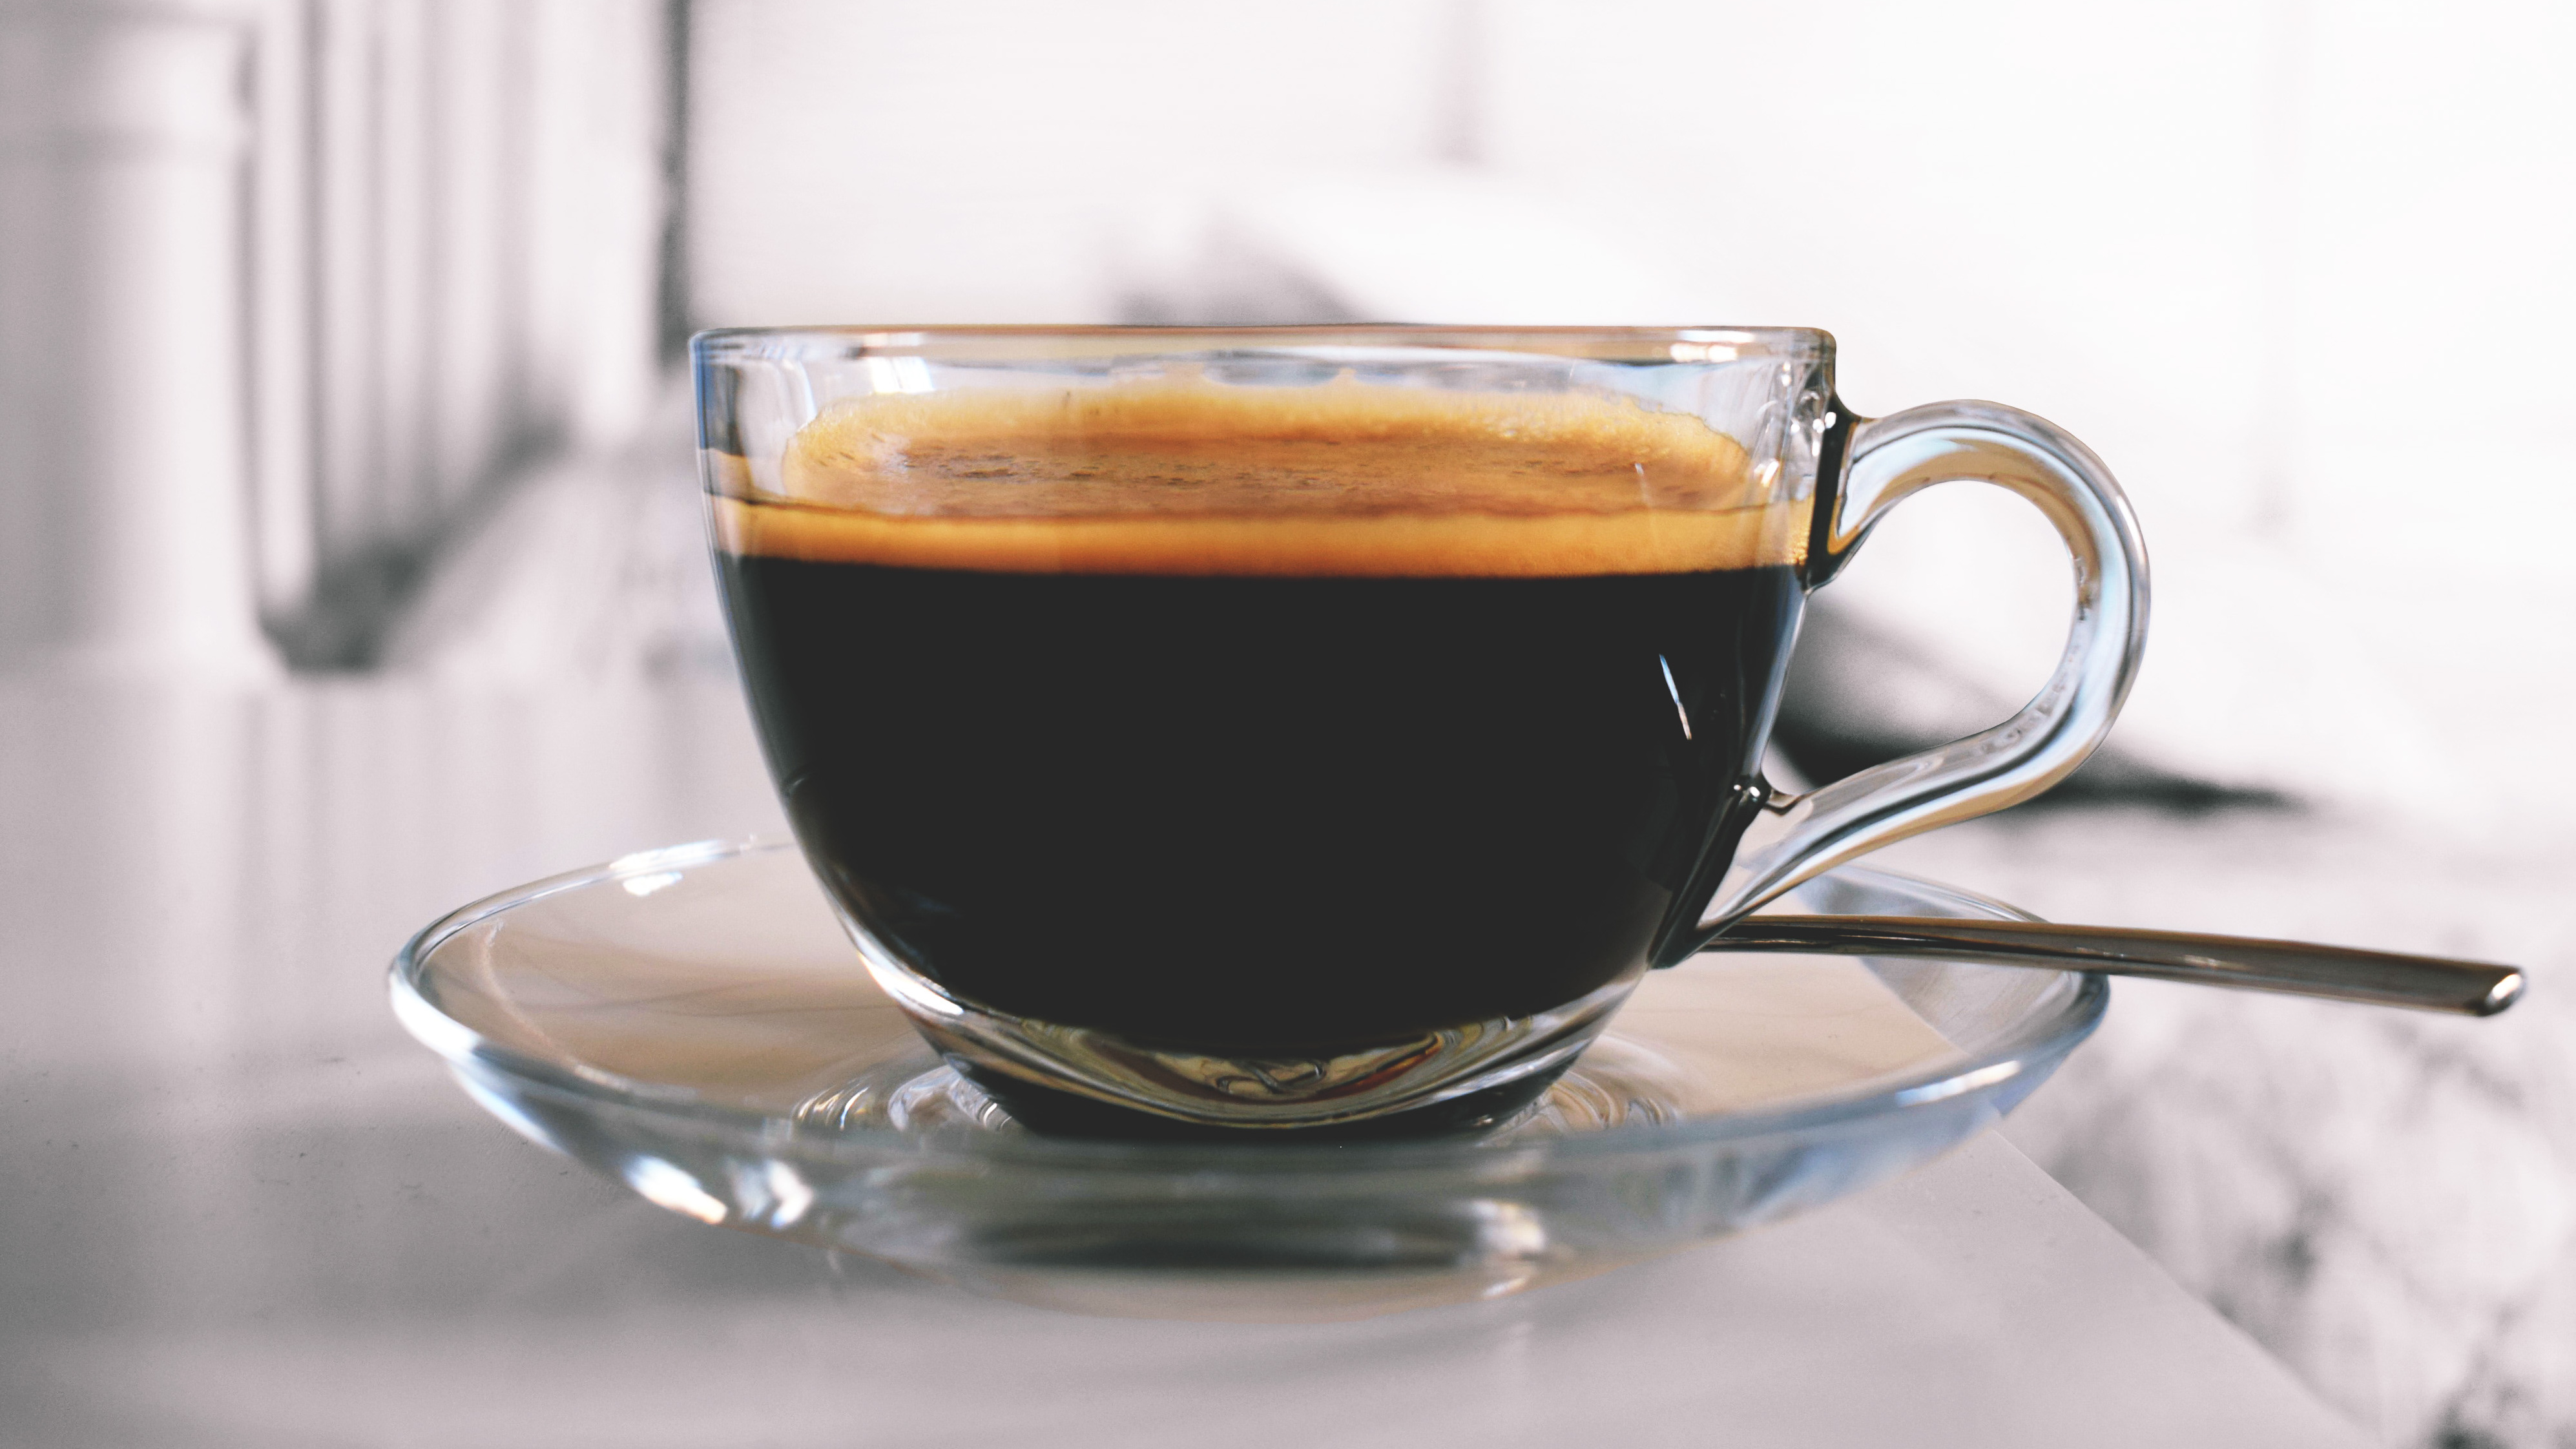
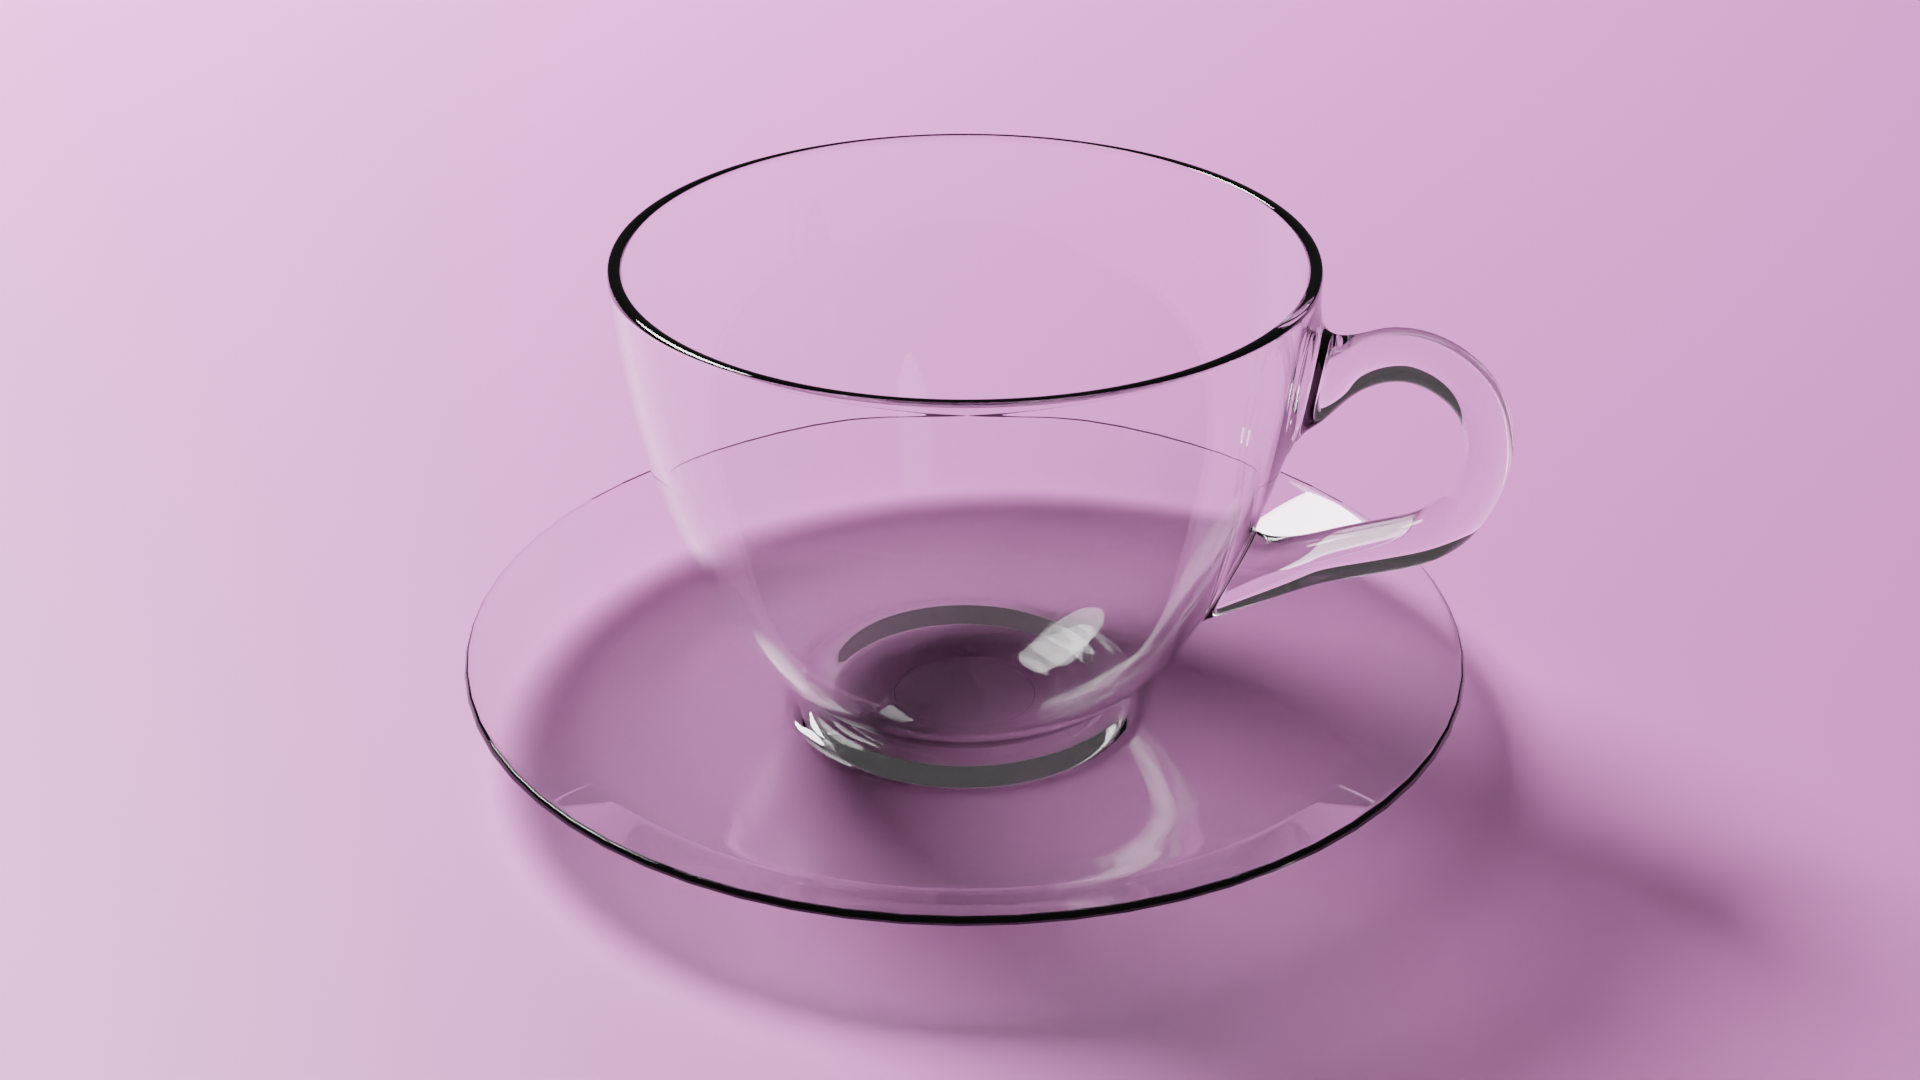
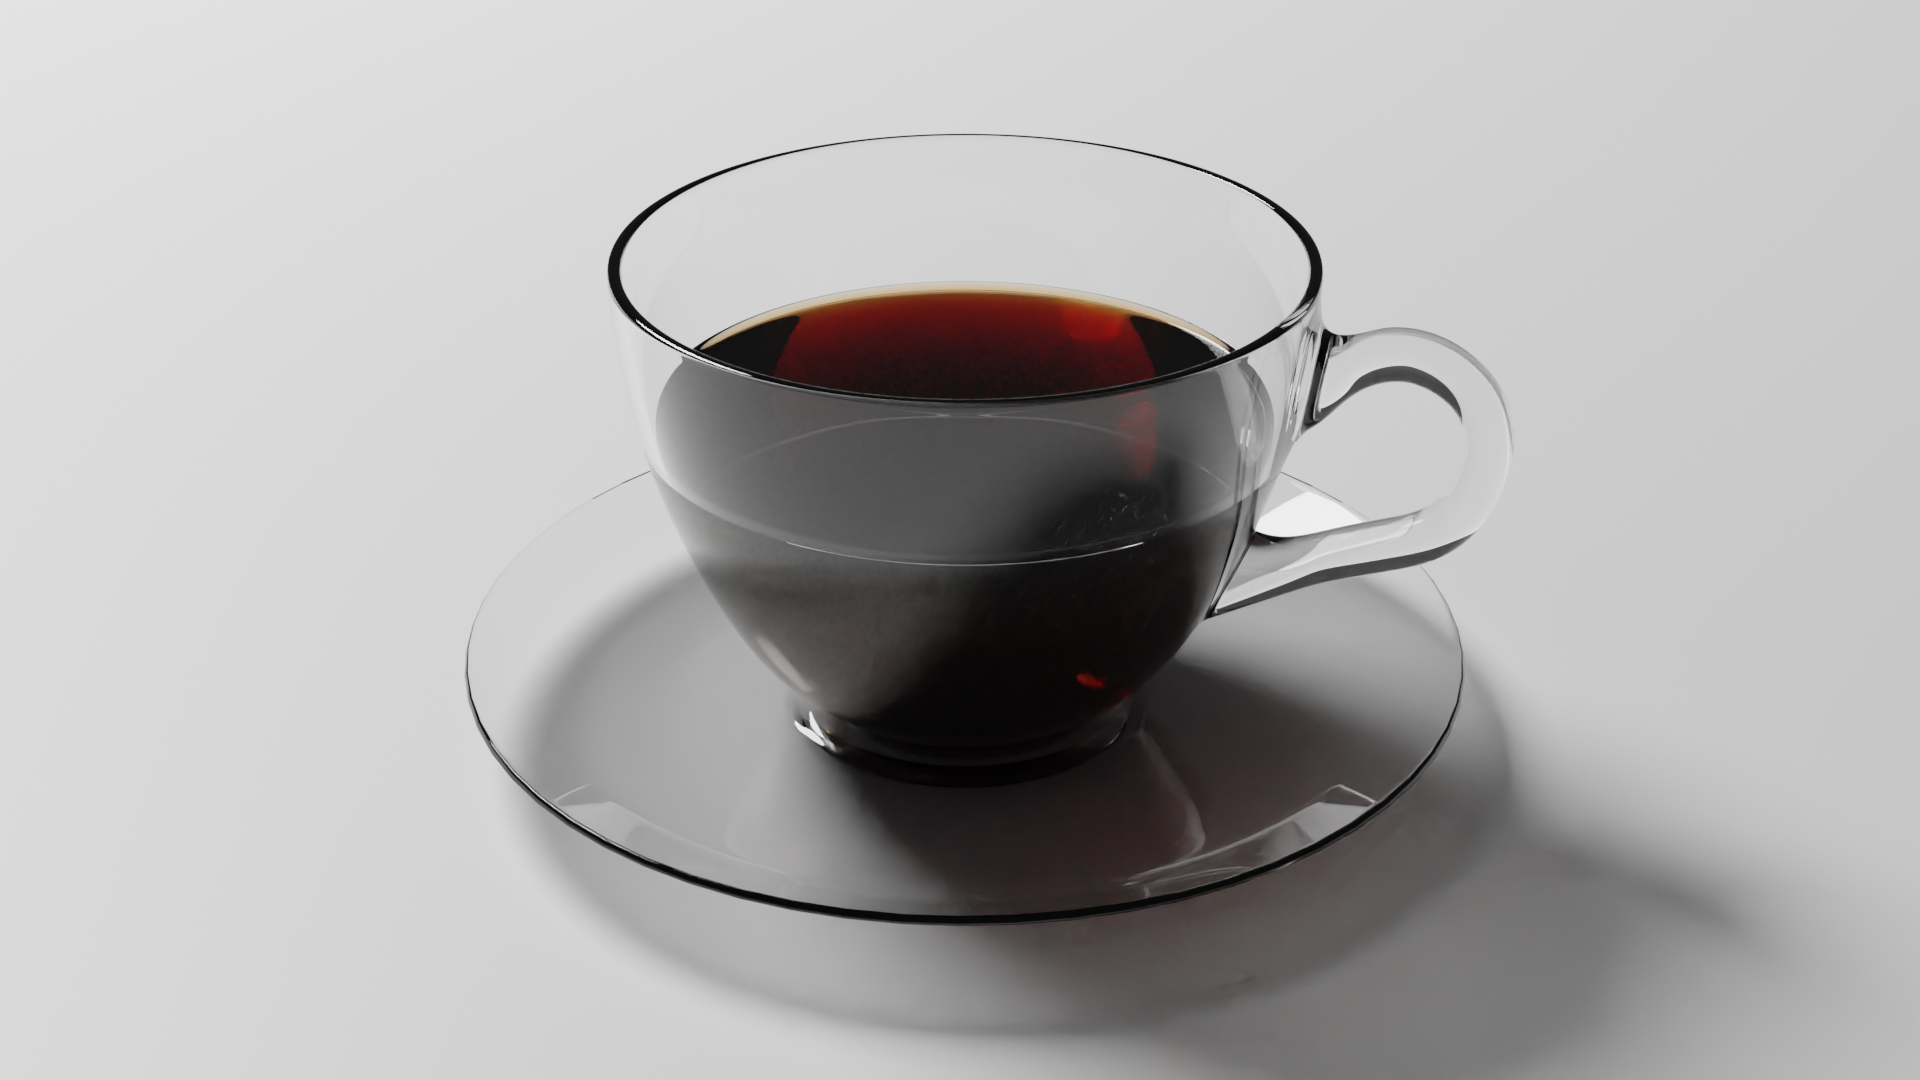
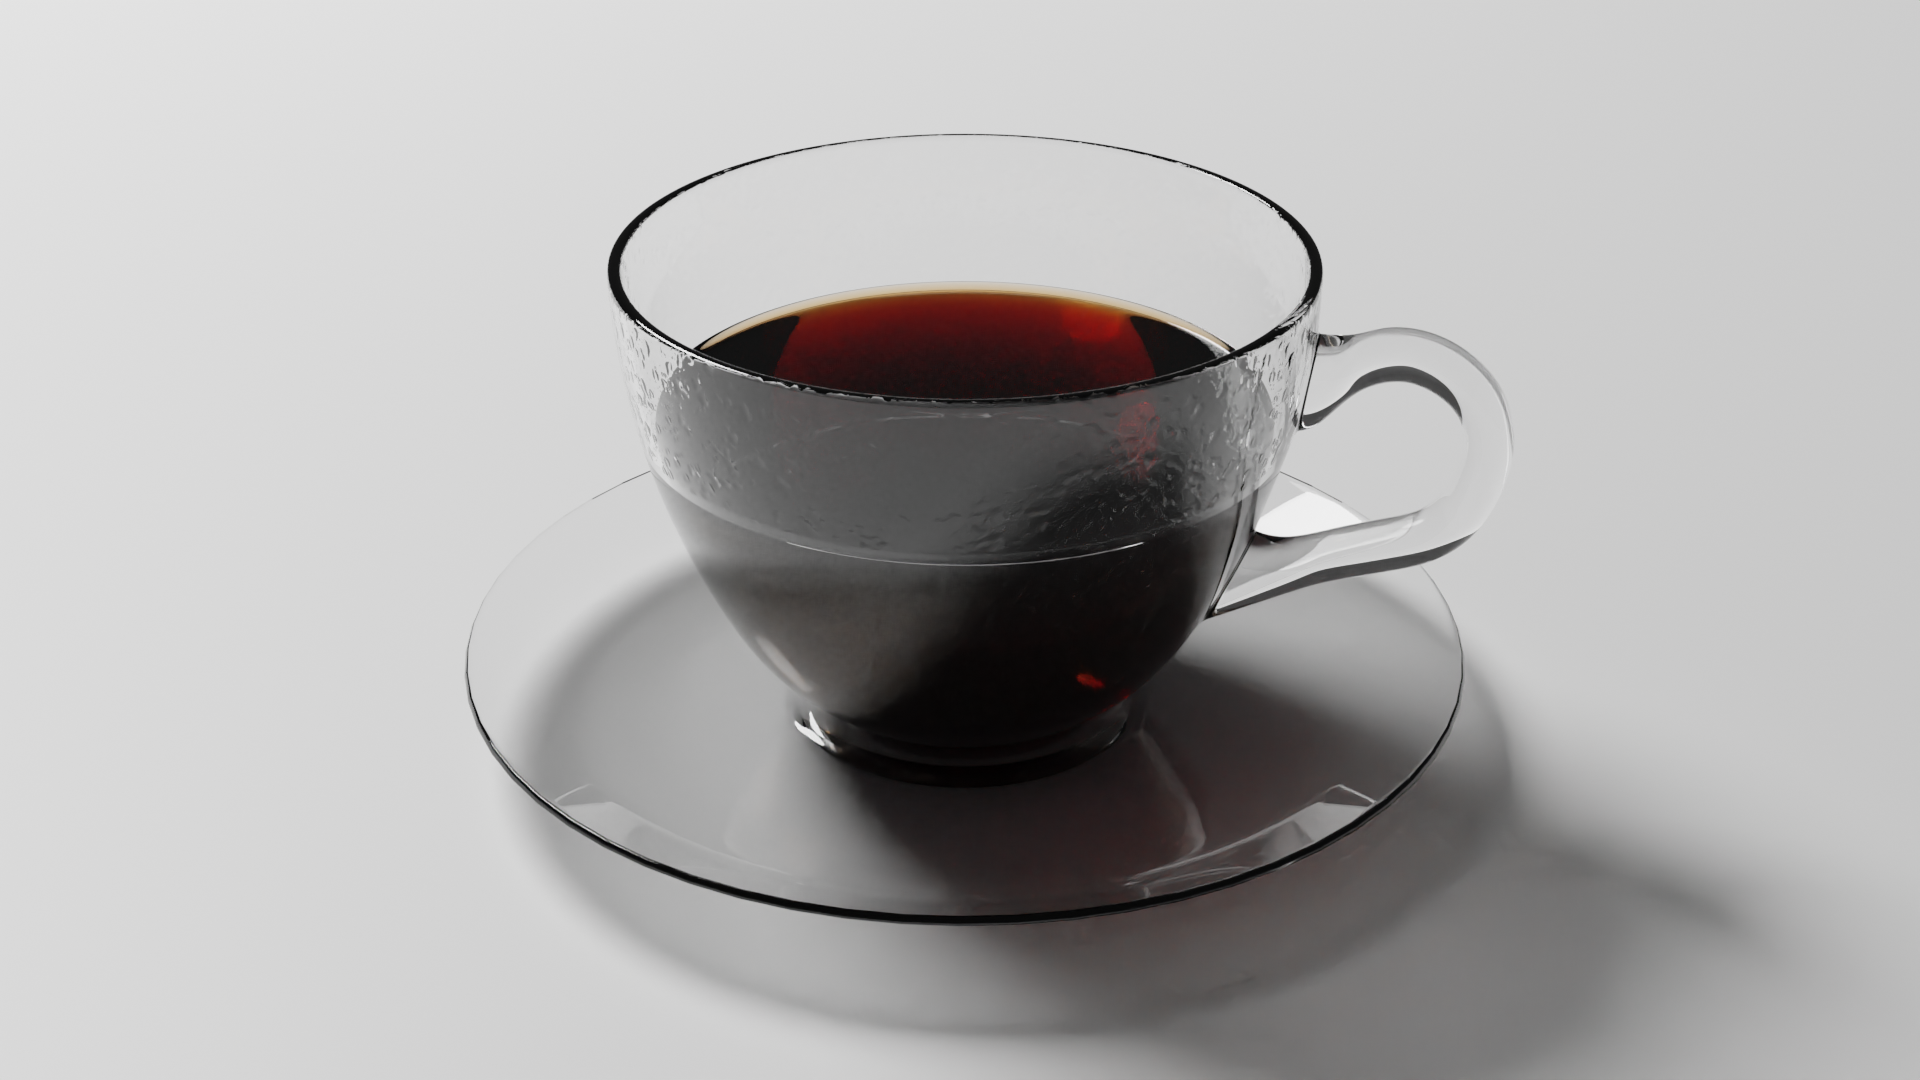
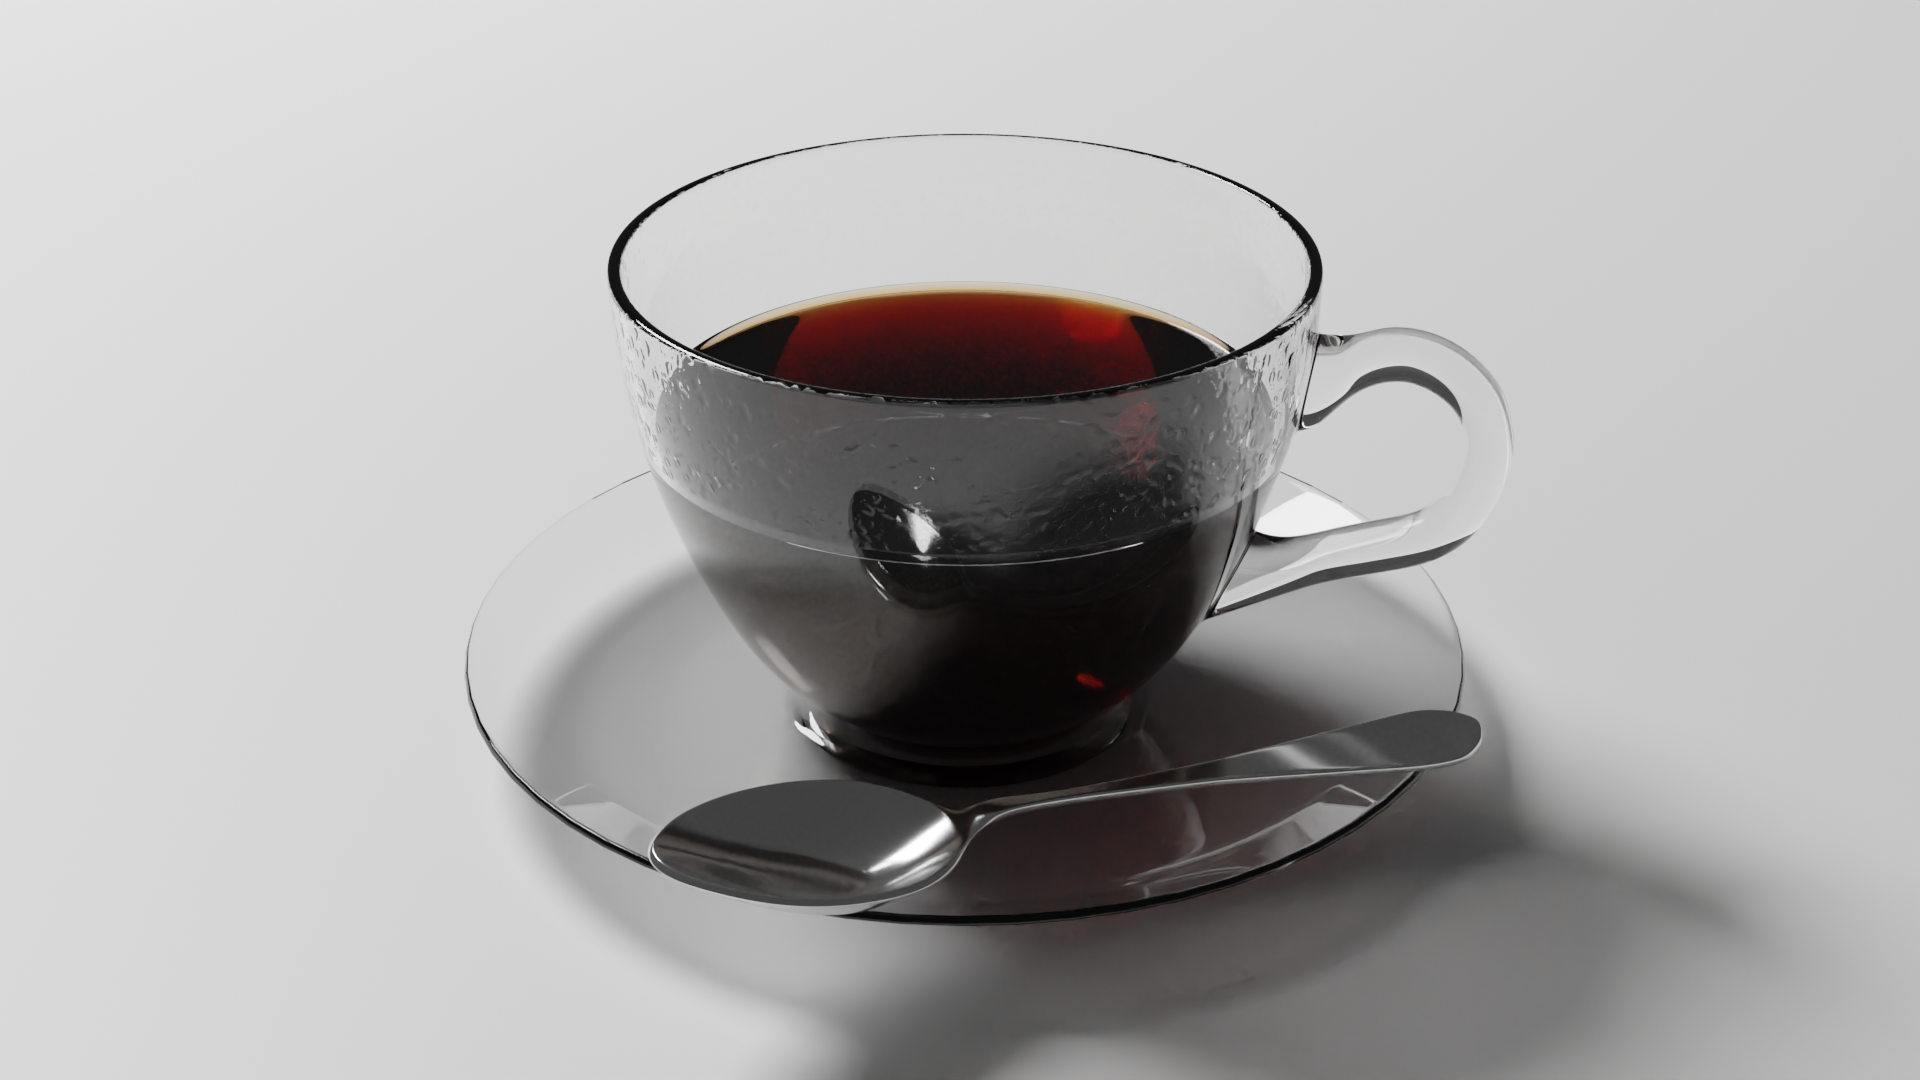
To accompany the doughnut, we started to model a glass coffee cup from the reference image below. We started with modelling the cup and applying a glass material to it. To create the liquid to go in the cup, we duplicated the inside mesh of the cup and added a top with surface tension along the side of the glass. To create a realistic coffee look, we added a yellowish volume with a high density value to give darkness in deeper areas. Lastly, we added condensation along the inside of the rim of the glass using an image texture.
As a little bit of homework for the series, we were told to make a piece of cutlery for the doughnut or coffee. I opted to make a teaspoon to sit on the coffee cup plate which I modelled from a spoon reference image online and added a metal material by increasing the metallic look and playing around with the roughness.
Here is the final render of the coffee cup with the teaspoon!
I’m going to continue with this project and put all the models together in a final composition :)